 Rotating Residential Proxies
 Rotating Datacenter Proxies
 Static Residential Proxies
 Static Datacenter Proxies
 Unlimited Rotating Residential Proxies
 Proxy Solutions
 United States Proxies
 Canada Proxies
 United Kingdom Proxies
 France Proxies
 Germany Proxies
 Singapore Proxies
 Japan Proxies
 Australia Proxies
 Vietnam Proxies
 Philippines Proxies
 India Proxies
 Mexico Proxies
 View All Regions
 Social Media
 E-commerce
 Data Aggregation
 Ad Verification
 Artificial Intelligence
 Market Research
 Integration Tools
 Contact Us
 FAQ
FAQ
 Documentation
 Tutorials
 SDK
SDK
 Affiliate Program
 Become an Agent
 Partners
 Blog
Blog


WebRTC Proxy Leak Test: Check Browser IP Exposure
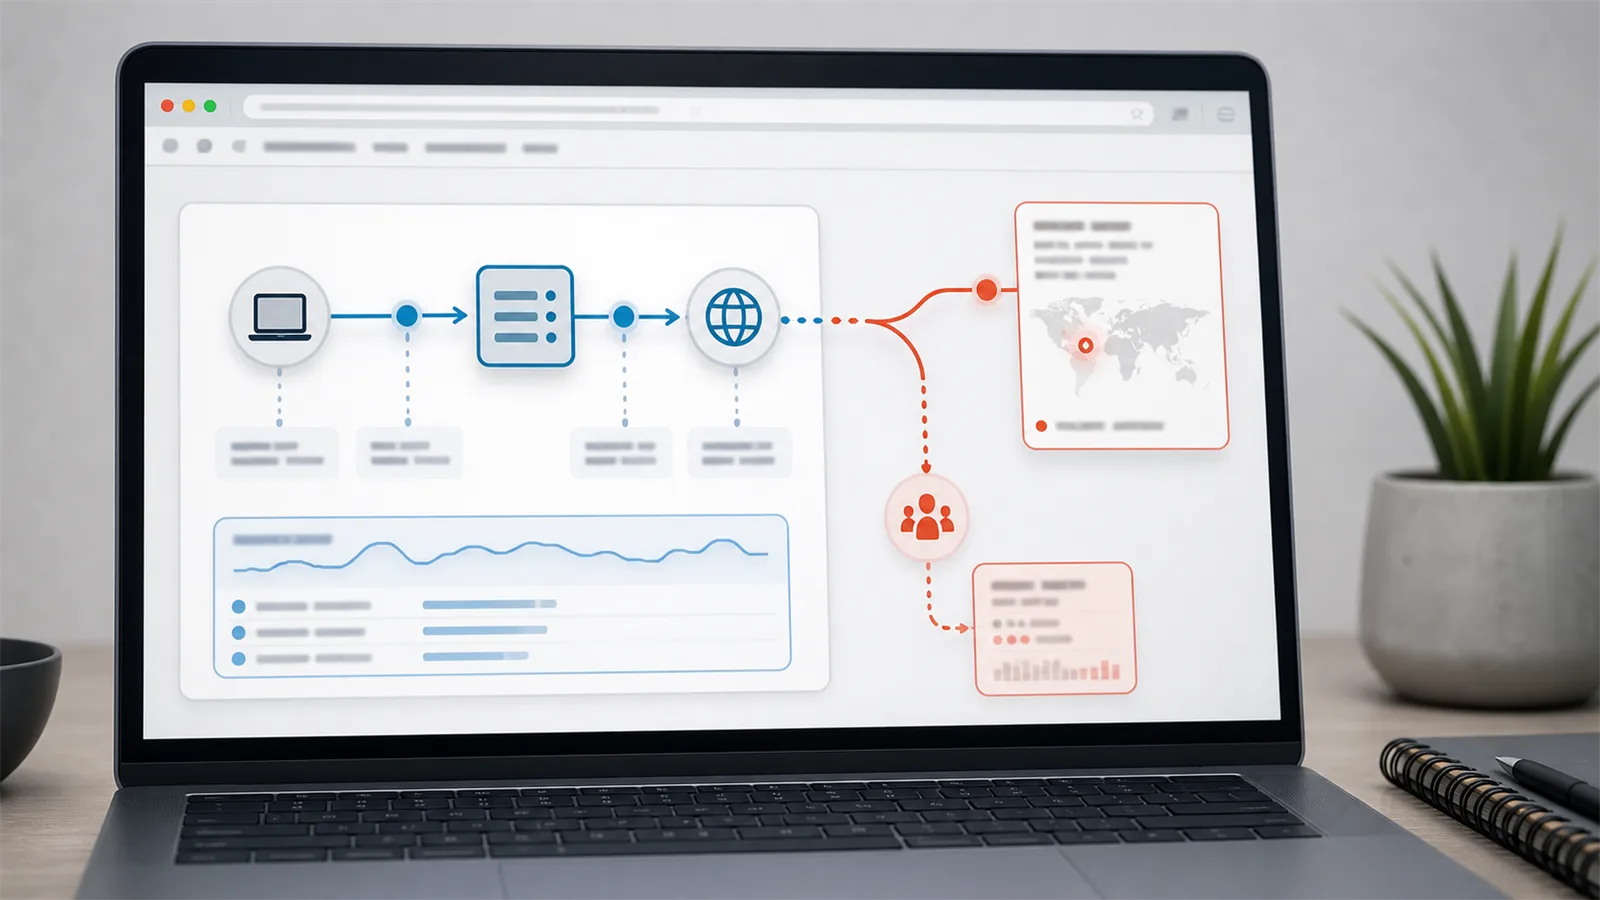
If a browser session reaches the target through a proxy but a leak test still shows your local or unexpected network path, the first thing to determine is whether the exposure is coming from WebRTC, from DNS, or from a browser profile that is bypassing the proxy entirely. Treat those as separate failure boundaries. Changing proxy vendors or rotating IPs does not fix the wrong boundary.
Use this workflow when a regional QA session, repeated login flow, or browser automation task looks proxied in normal page loads, yet an IP test or anti-fraud check still sees the wrong location. The goal is to verify the exact browser profile that carries the real session, then isolate whether WebRTC is exposing IP information that your ordinary HTTP checks do not show.
Decide whether the leak is browser-side or a plain proxy-bypass mistake
Start with one neutral check outside the browser, then repeat the check inside the exact browser path you actually use. If the proxy looks correct from a control client but wrong in the browser, the browser path deserves its own diagnosis before you touch the proxy pool.
A practical interpretation rule is:
- If the browser and the control client both show the same unexpected IP, the problem is broader than WebRTC.
- If the control client looks correct but the browser leak test shows a different local or unexpected IP, keep the diagnosis on the browser side.
- If the browser only leaks when a specific extension, profile, or container is enabled, the proxy is not the first thing to replace.
This matters because a browser profile can inherit different proxy behavior from manual settings, extensions, container rules, or automation launch flags.
Test the exact browser profile instead of trusting command-line success
A proxy check in cURL or a framework health check is useful, but it is not enough when the real workload runs in a browser. Discovery for this run surfaced Firefox and extension-specific leak reports in both Mozilla Bugzilla 1799411 and indexed Reddit threads such as DNS Through SOCKS5 (FoxyProxy) not working. Those are strong reminders that browser-managed proxy behavior can differ from the control client that made the proxy look healthy.
That means the test order should stay strict:
- Confirm the proxy host, port, and credentials outside the browser.
- Open the same target or leak test from the real browser profile.
- Repeat the test with the extension or container setup you actually use in production.
- Compare the results before you change the proxy endpoint.
If the result changes only after the extension or browser container is enabled, the article’s main conclusion is already available: keep working on browser configuration instead of blaming the IP pool.
Separate remote DNS settings from WebRTC IP exposure
Do not collapse every wrong-location result into a DNS leak. Mozilla’s long-running socks_remote_dns discussion shows why DNS path and browser proxy behavior deserve separate checks. A browser can resolve hostnames differently from what you expected, but it can also expose network information through WebRTC even after DNS is fixed.
That is why a browser-only leak test matters. The BrowserLeaks WebRTC test is useful because it shows browser-observed IP information that can differ from a normal page-load result. The webrtcHacks analysis of Chrome WebRTC leakage is a helpful boundary check: some browser networking behavior can expose an IP path that ordinary proxied requests do not reveal.
Use the result this way:
- If hostname resolution is already correct but the WebRTC test still exposes an unexpected IP, keep the diagnosis on browser behavior.
- If both DNS and WebRTC look wrong, fix the simpler proxy-path mistake first, then repeat the browser test.
- If the WebRTC test is clean but the target still objects to the session, move on to target-side blocking, account reputation, or session persistence rather than reopening the leak question.
Run a short leak-verification sequence before changing providers
Before you switch proxy plans, re-run the same checks from the same machine and browser profile that will carry the real workload.
A clean sequence looks like this:
- Verify the proxy outside the browser.
- Run the browser session through a neutral leak page such as BrowserLeaks WebRTC test.
- Toggle the exact extension or container path that the real workflow uses.
- Re-run the same browser leak test after any DNS or proxy-setting change.
- Only after the browser path is clean should you judge rotation, pool quality, or target-side sensitivity.
This is also the right point to review FoxyProxy help or the equivalent browser tool reference for the extension you are actually using. The browser tool, not just the proxy vendor, often controls the last-mile behavior that decides whether the session looks masked.
Choose the next step only after the leak boundary is clear
Once the browser leak boundary is clean, the next decision becomes much simpler. If the browser no longer exposes an unexpected IP but the workflow still needs steady long-lived sessions for login-heavy regional QA, account reuse, or repeat browser checks, a stable-IP option such as static residential proxies is usually a better next step than adding more rotation.
If you are still comparing workflow fit after the leak test passes, start by matching proxy types to browser testing workflows. That keeps the commercial decision in the right order: fix browser-side exposure first, then choose the session model that fits the workload.